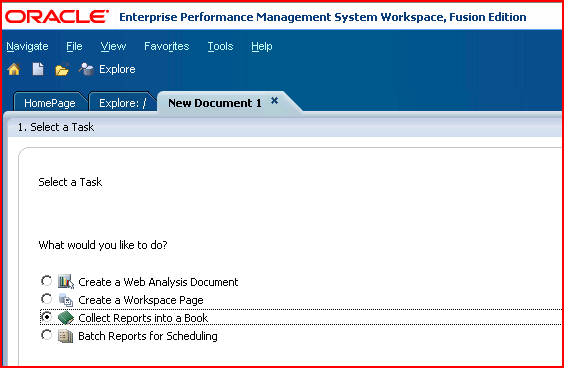
Trying to do this in a different fashion, part 2 of I don’t know
This is Monday, 27th June, aka Day 2 of the conference. The madness was just beginning…
The photographers will snap us, and you'll find that you're in the rotogravure
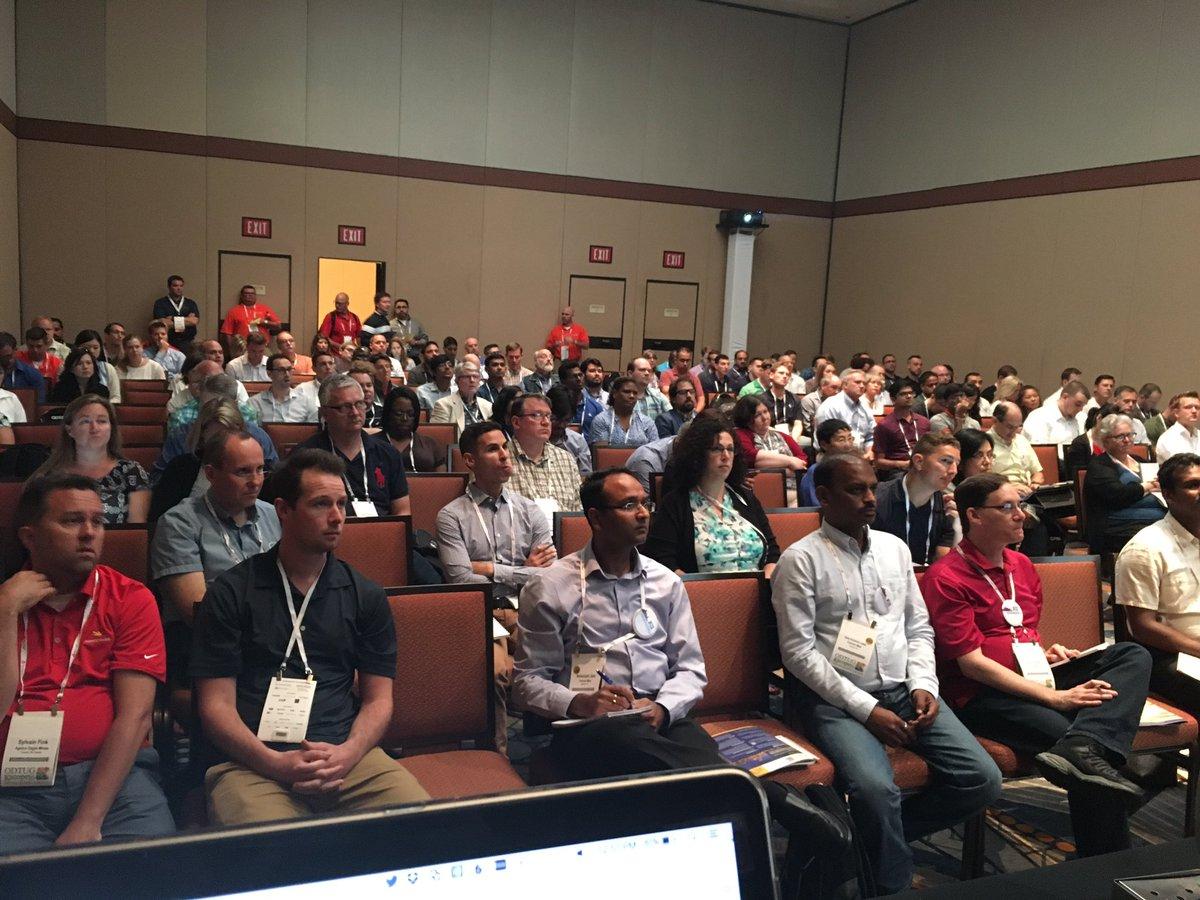
PBCS session filling up

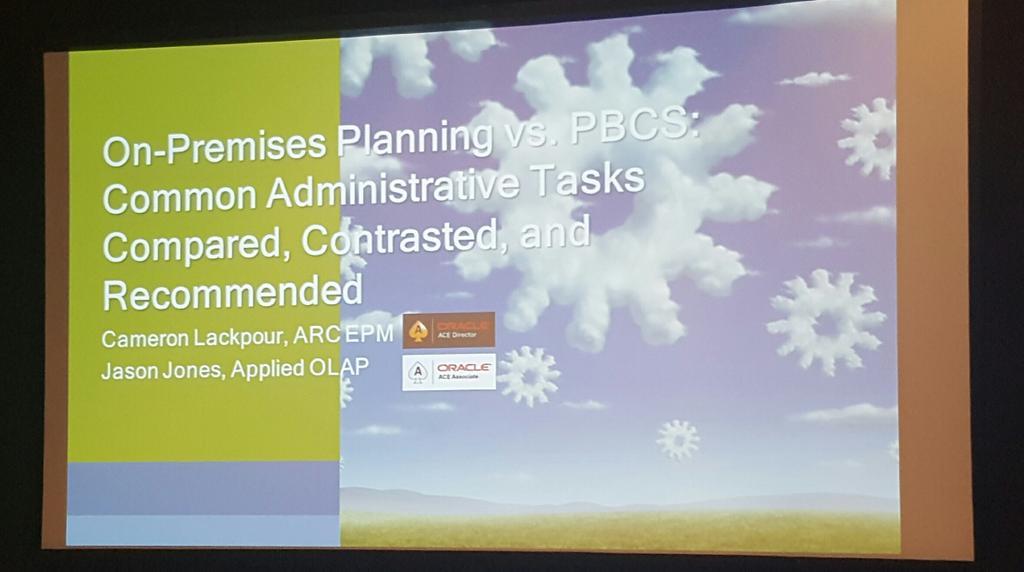
My woefully deluded because he presents with me wonderful co-presenter Jason Jones’ view from our PBCS session dais
1st slide
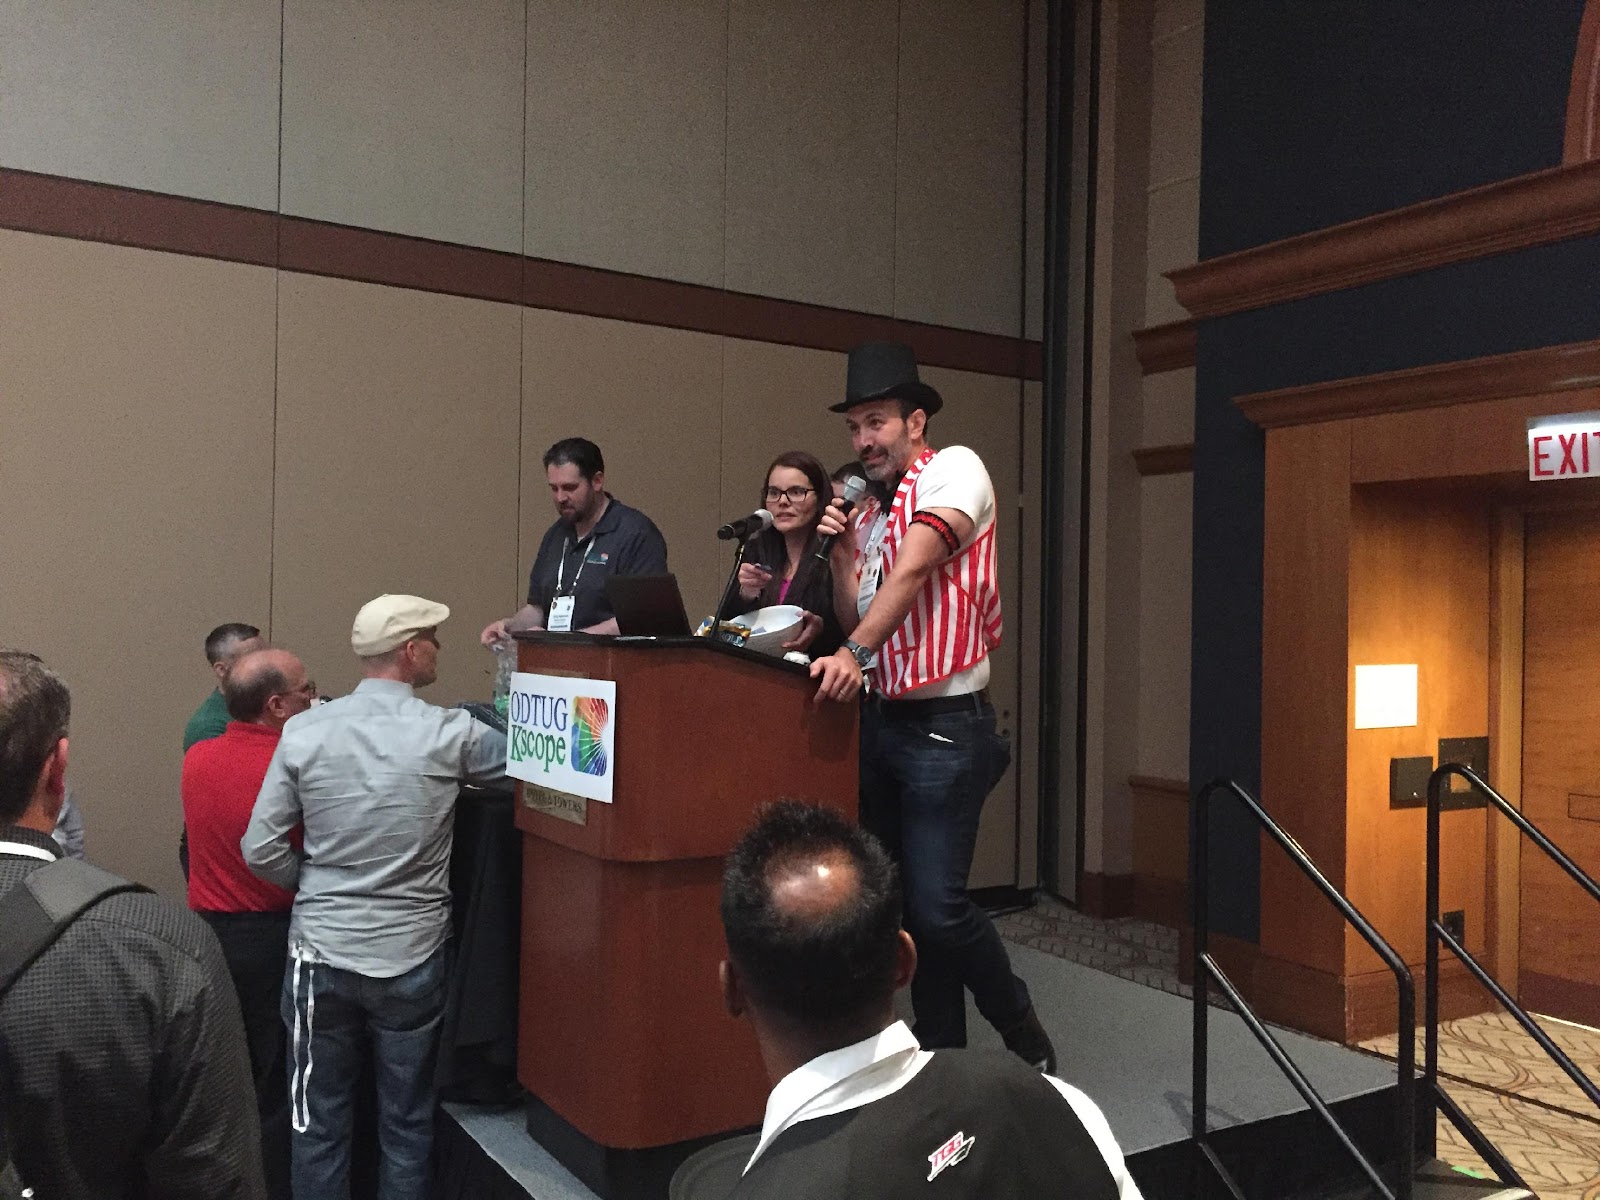
Carnival time with Gary Adashek, Jessica Cordova, and Chris Rothermel
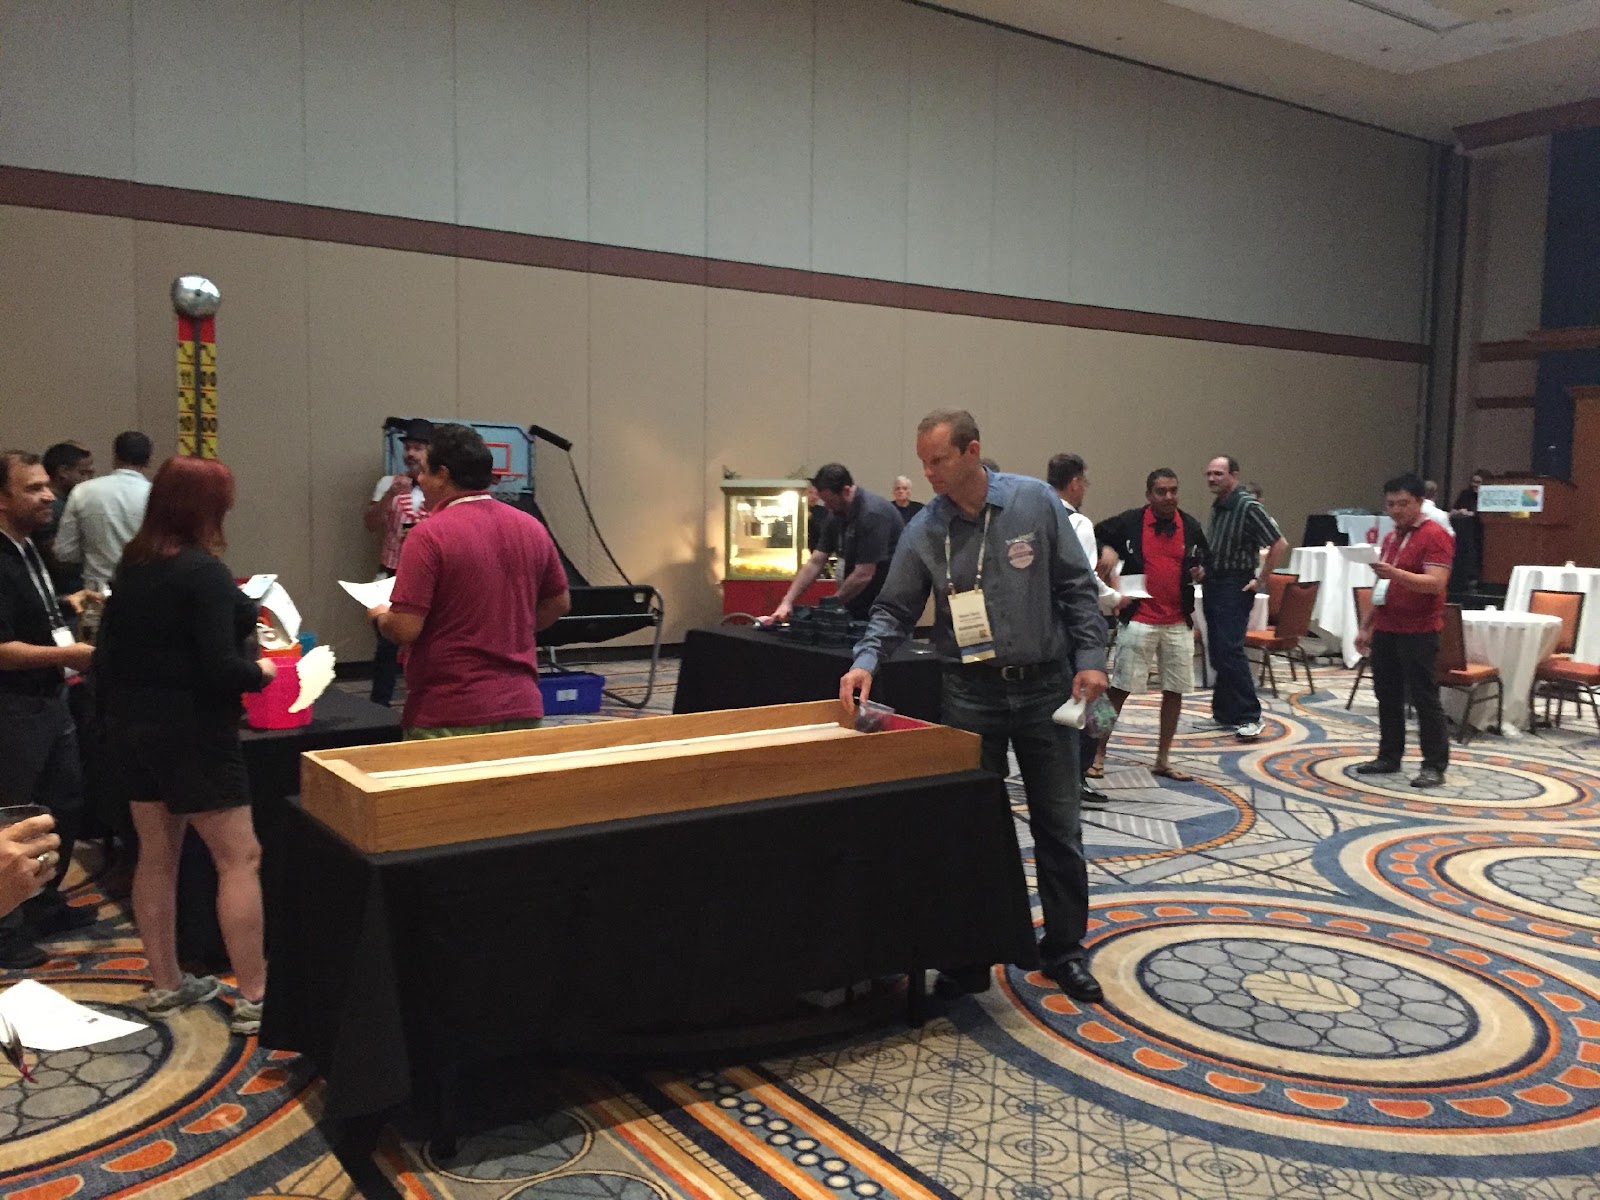
I’ve gone to community night events since Kaleidoscope 2008 and this was by far the best ever right down to the unbelievably expensive but actually quite tasty popcorn. The scavenger hunt was a brilliant idea (it surely wasn’t mine) that acted as an effective ice breaker. Many thanks to subject experts Chris Barbieri (financial close), Gary Crisci (business content), Steve Davis (infrastructure), Al Marciante (reporting), and Glenn Schwartzberg (Essbase) who graciously quizzed attendees.
The prize was this:
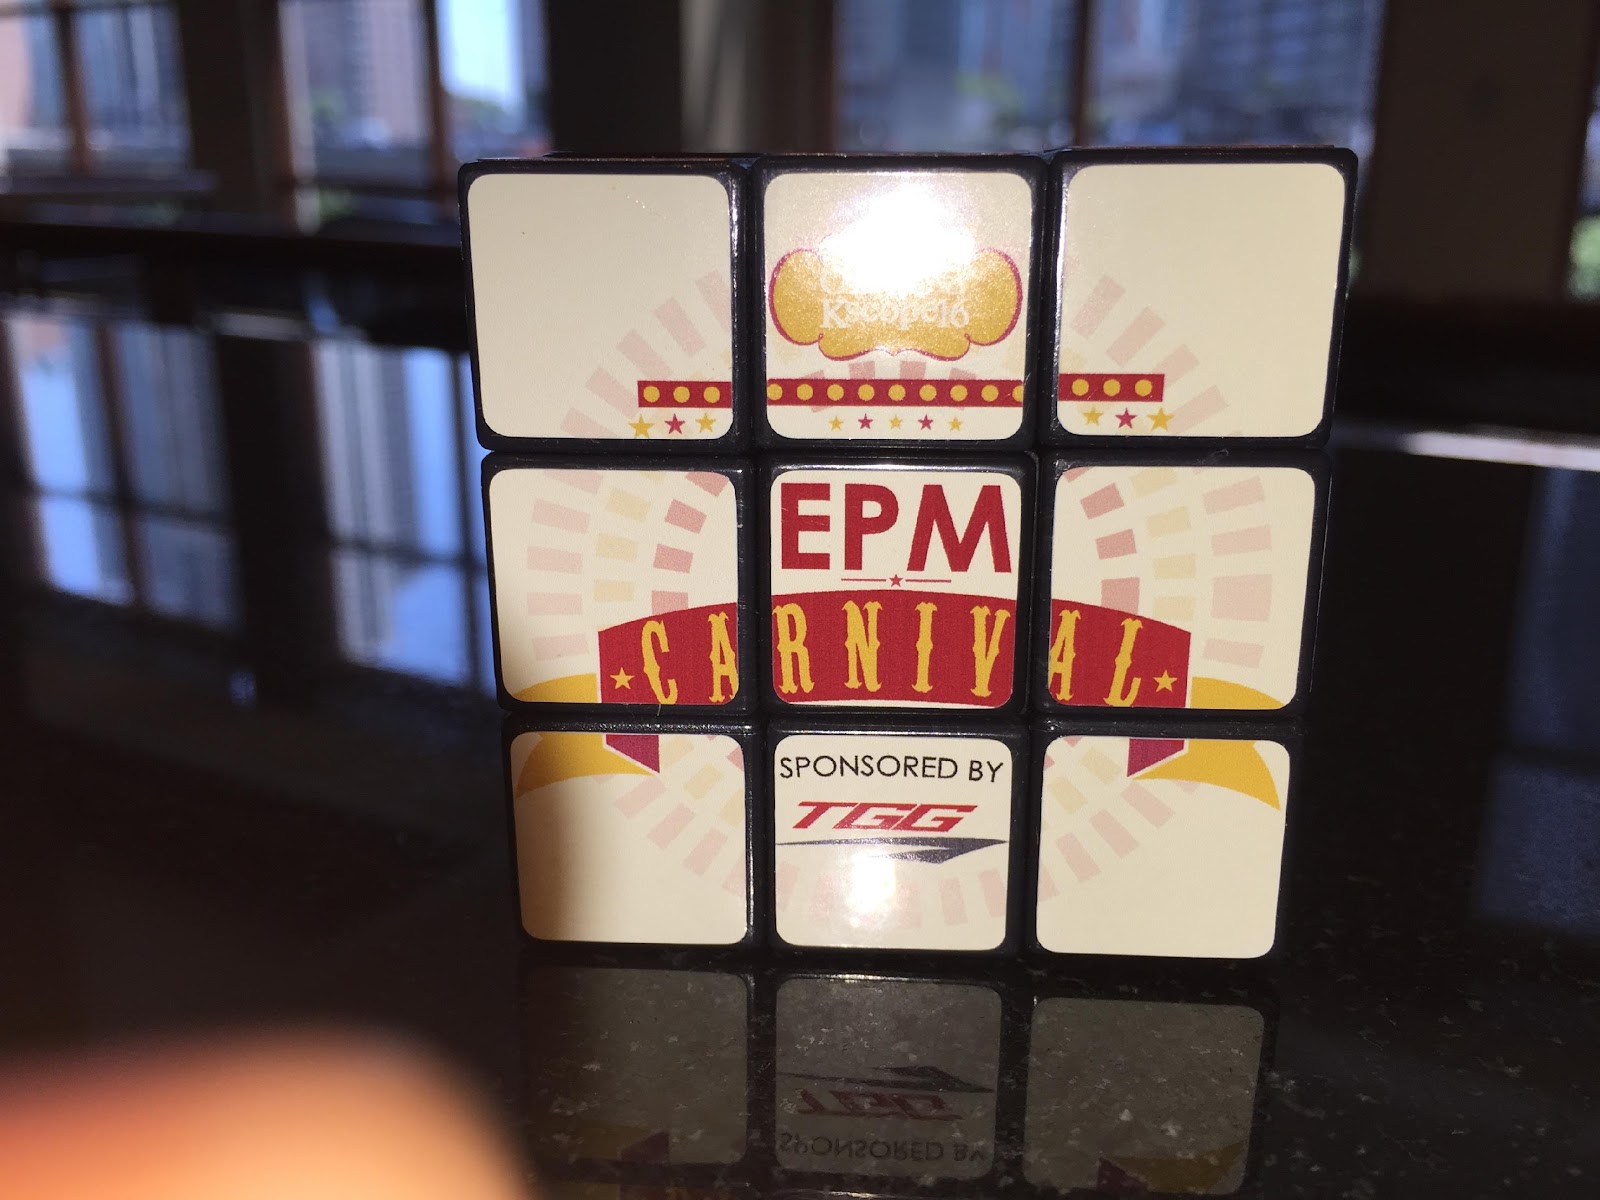
Pretty cool, eh?
The success of the night was of course yours, Gentle Kscope16 Attendee, but the vision and hard operational work was a team effort that wouldn’t have happened without:
- Jill Colsh from ODTUG’s management company Your Conference Connection (YCC)
- EPM community volunteers Jennifer Anderson, Janice D'Aloia, Jessica Cordova (shanghaied into this at the last minute), Chris Rothermel, and the EPM community leader Gary Adashek
- Greg Beaton, Alex Leung, and Valantus Philip (as well as a few others whose names flew by me at 160 kph, sorry but I least I metricated the speed) from The Goal Getters
Sometimes a group of disparate people come together for a project and it’s magic. This was one of those times and I was privileged to be on the sidelines cheering our volunteers on.
My time with ODTUG is coming rapidly to a close. Jennifer, Janice, Jessica, Chris, and Gary are the future. Mark their names for one day they will be our board of directors.
The crowd, very early, and honestly there were over 100 there
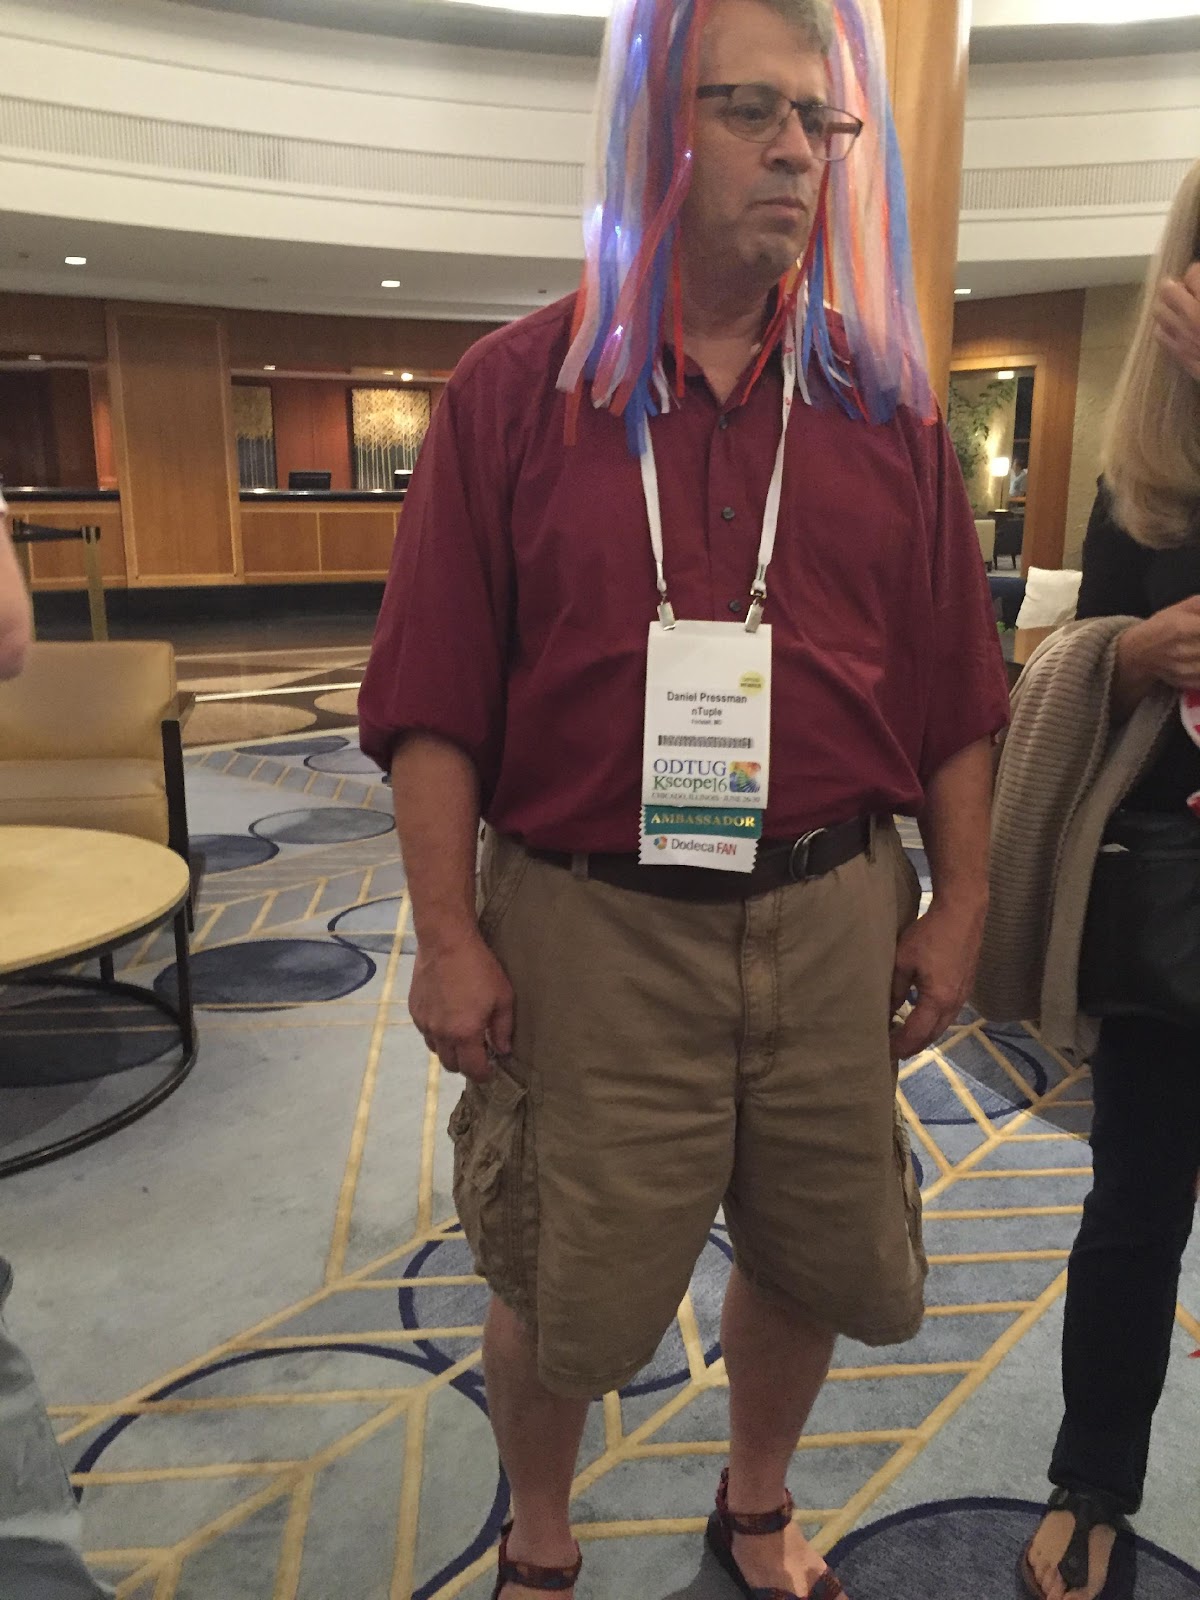
Oh my goodness
No one gets credit (or blame) for this but me. Perhaps it’s my Easter Bonnet? Perhaps the >100 community night attendees went to my head? Perhaps both? Who can tell.
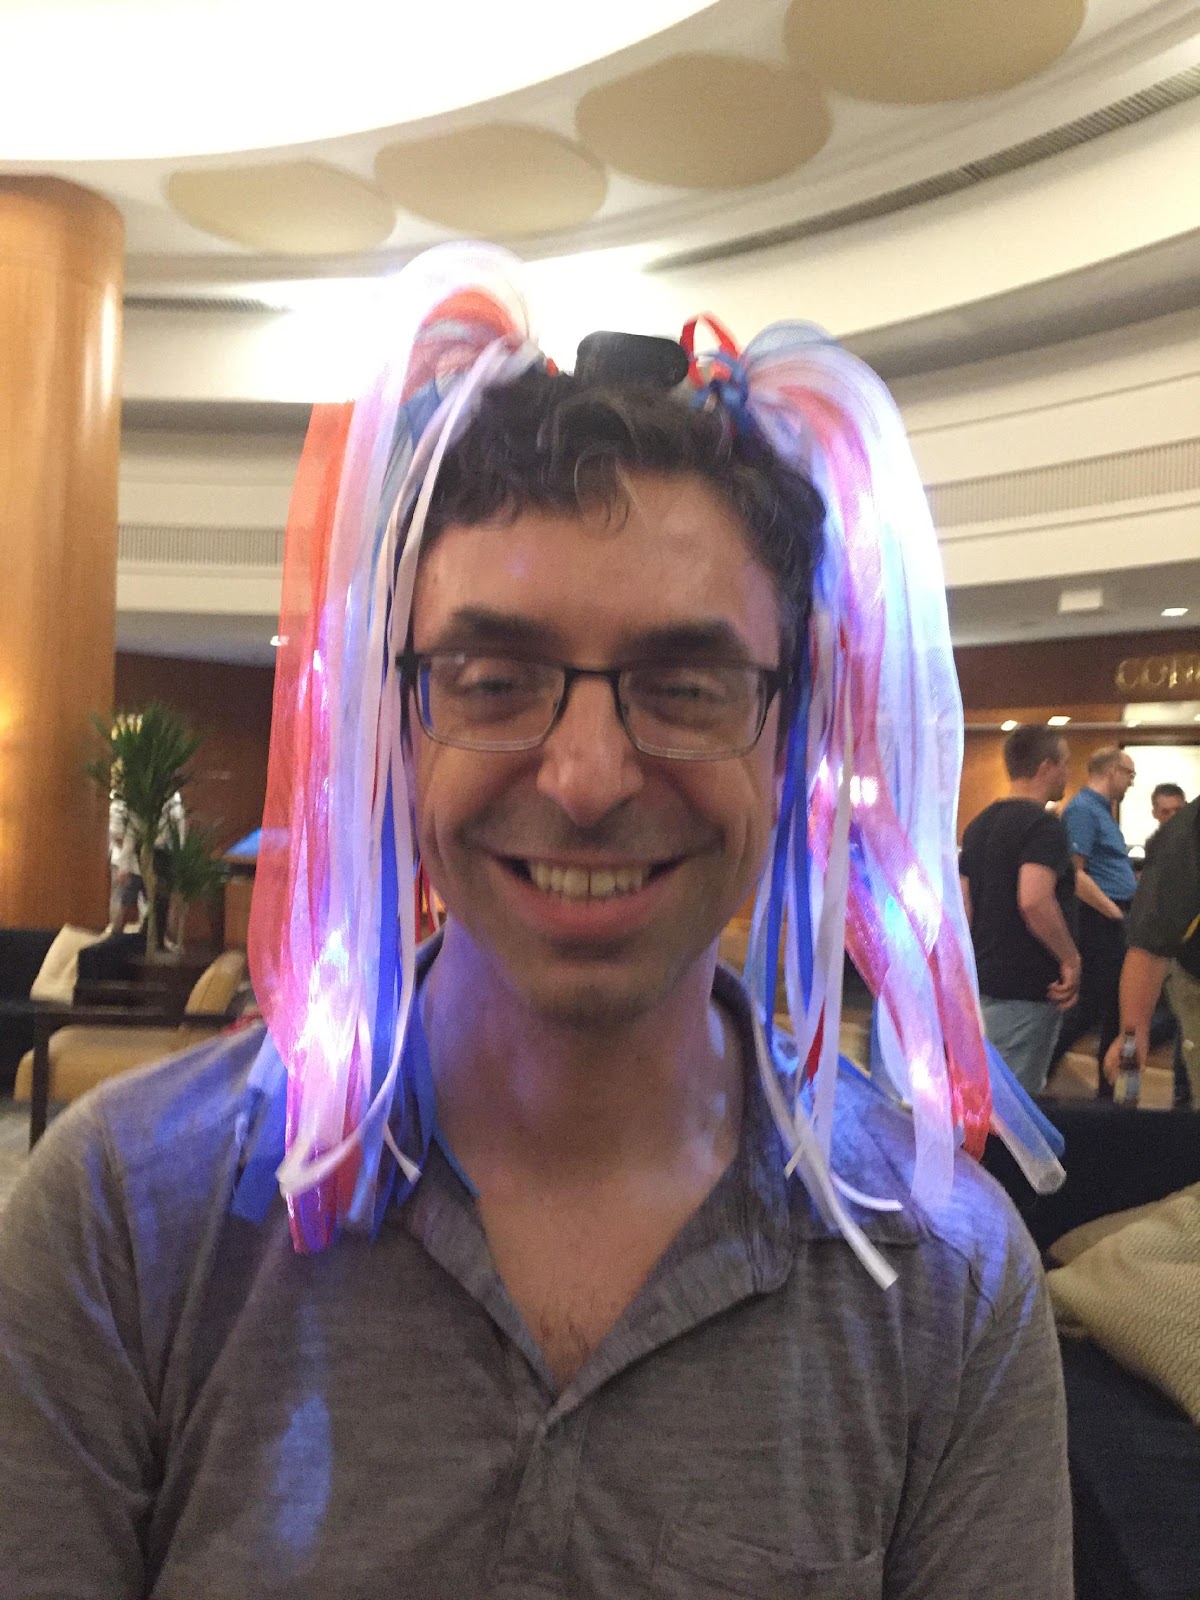
OMG #2
OMG #3, with Jennifer Anderson, Natalie Delemar, Gabby Rubin, and Richard Philipson
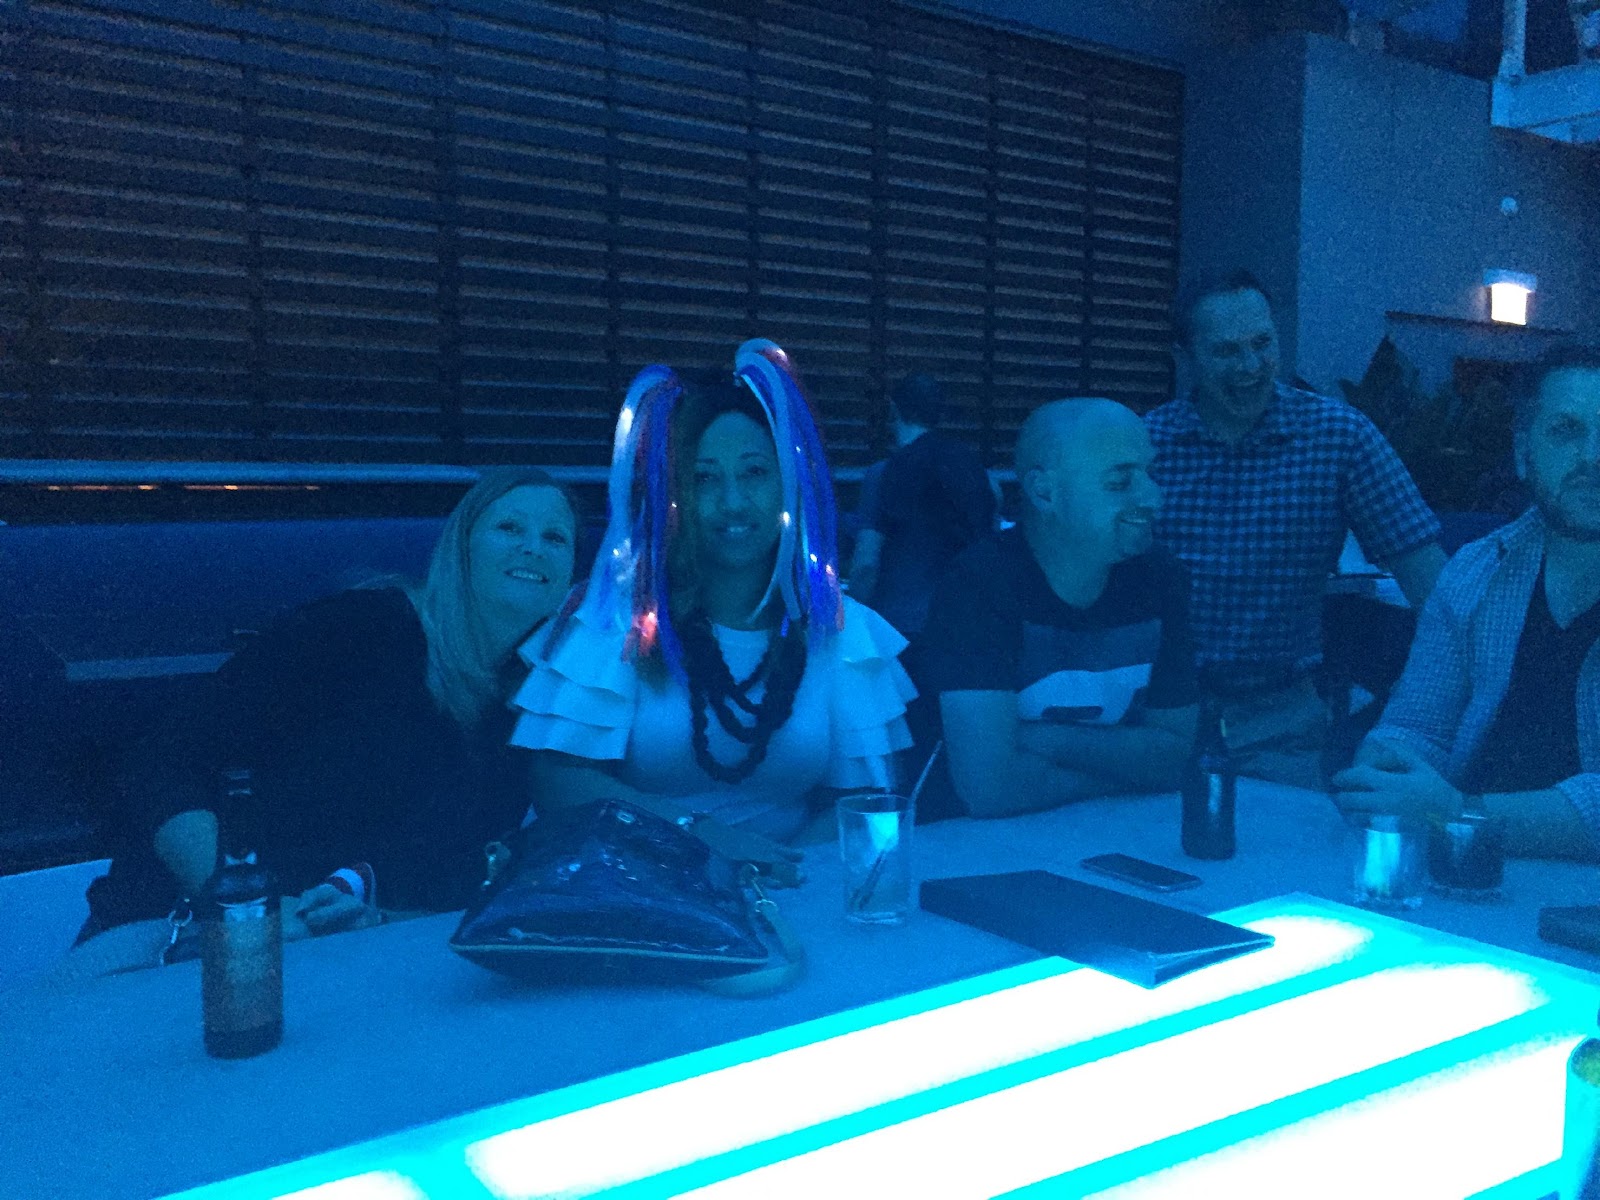
I’m not totally sure what the theme is wrt the lit up headpiece, only that it exists and that’s enough for me.
Not even halfway there
I’ve brought you so far through Monday night. It got late. It’ll get later. My sleep patterns will become more erratic. Fun, I think.
Be seeing you.